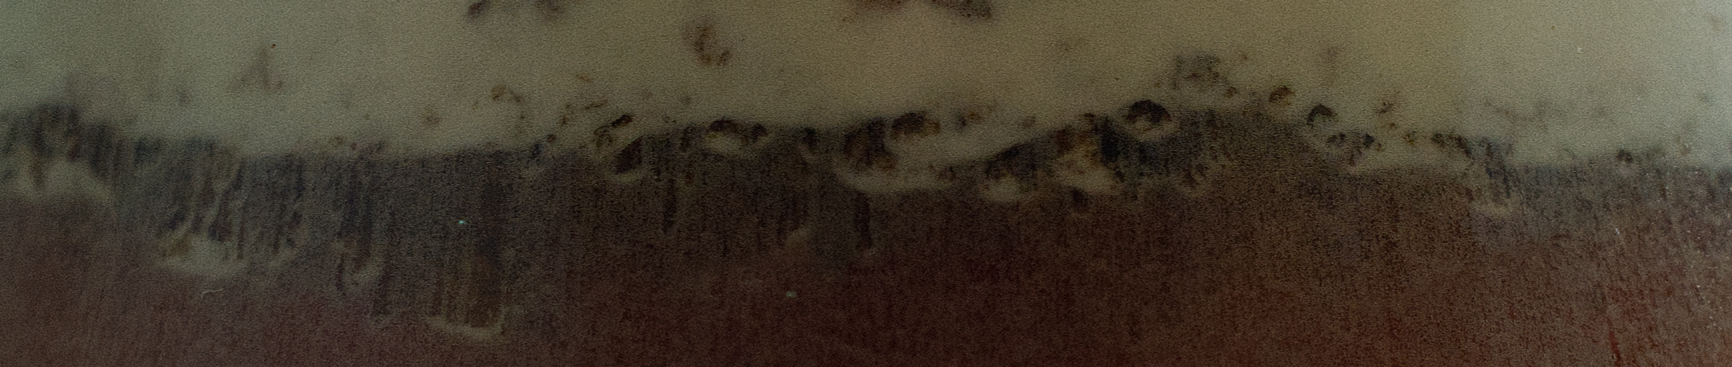
I typically drink at least one cup of coffee per day, and when it’s hot outside and I go to a cafe I find myself gravitating towards cold brew, in large part because it’s a reliable cold coffee drink. To me it’s reliable for two reasons:
- Although getting cold brew treated with the same rigor as a pourover is not so common, unless that cafe uses truly poor quality or stale beans, they filtered the cold brew poorly, or somehow the water profile is particularly bad, it’s at worst just okay.
- I have found that many cafes do not treat iced variations of their drinks differently than the hot ones, so when getting something like an iced pourover, or an iced flat white, they often feel a bit watered down and low body, and you may have to pay extra for the icy experience!
At home it’s pretty much purely out of convenience, since it’s possible to get a cold drink in under 30 seconds.
Anyway, I’m writing this recipe to hopefully help anyone who reads this make a consistently good batch of cold brew, with as little fuss as possible.
When I was first starting to make cold brew at home I struggled immensely with filtering — I really do not like a cup with a silty mouthfeel, like a French press, but I found making a clean cup of cold brew is surprisingly difficult. You can’t use a normal gravity paper filter like V60 because of the super fine particles that get suspended in the liquid as the brew sits, which will cause it to simply not filter after a certain time due to the filter getting fully clogged (one time I left the liquid to filter in a V60 paper filter and went out, and after coming back like 2 hours later it was just standing in the filter, still not finished, with no drips too). You can use something like a Toddy, but its sole purpose is to help make cold brew, and I’ve heard that cleaning the bag is kind of a pain and it doesn’t provide a paper-filter-clean cup, so it’s an investment that I didn’t really want to make. I even thought about using something like egg whites for filtering, but that felt like a bit overkill, would make the coffee not vegan, and I don’t know if it would have changed the flavor of the coffee, so I didn’t pursue that.
At some point I thought, “why not use an Aeropress?” I didn’t see anything about it online, and asked a couple of friends who work at cafes, and no one seemed to talk about it. I tried it myself, and it worked really well, giving me the clean cup I wanted, with much less hassle than filtering with a V60, and little work overall. A game changer for my cold brew experience!
#Recipe
Ingredients
- 80g coffee beans, ground coarsely (think coarse salt). I go 30-32 clicks on a Commandante, depending on the coffee.
- 880g filtered water. (note about amounts)
- Something like a jar big enough to hold the brewing coffee, which can fit in your fridge.
- An Aeropress.
- (Optional) Fine mesh strainer and a bowl, for filtering.
Instructions
- If necessary, grind your coffee coarsely. As mentioned above, go for something like coarse salt, or a bit finer than French press.
- Add the coffee and water to your jar. Give it a quick stir.
- After about 15 minutes, stir the mixture again. A lot of coffee will float to the top of the water in the beginning and needs a bit of help via agitation to fall down. Not doing this can affect the final product, so don’t skip it.
- Put the jar in the fridge.
- Wait 12~24 hours. (note about time)
- Take the mixture out of the fridge and give it one more stir to agitate the now caked coffee at the bottom of your jar. If your jar is too thin to do this with a spoon, swirl the jar around instead. The point of this is to be able to get the coffee at the bottom of the jar somewhat suspended in solution, since it will make filtering easier.
- If you have a fine mesh strainer, place it over the bowl and pour all of the coffee into it. Wait a few minutes to let the coarse grounds drip a bit more liquid. You can also manually move the strainer up and down to speed this up.
- Filter the coffee through the Aeropress. With a normal Aeropress you can get about 250g of liquid in the body, so you’ll need to filter 3 times for the above recipe.
Notes
- I use a 1:10 coffee:water ratio, since I drink my cold brew directly and typically don’t add ice to it. You can use a lower ratio, something like 1:8, if you will definitely add ice or prefer something more intense, or 1:6 if you want it more concentrated and might add something else to it (tonic, milk, use it in a cocktail, etc.)
- Use good coffee, but not your best. Cold brew is fundamentally different than making coffee hot and the extraction is different, and so you won’t get the same kinds of flavors out of cold brew as a hot brew. You should absolutely use a good coffee and something you like to drink, for example a washed Ethiopian, but don’t opt for a high quality Gesha in your cold brew, since it’ll be a waste (also, it’s also a lot more expensive to make cold brew than regular coffee — the ratios are like 1:10, rather than 1:15 or higher for a hotter brew).
- In the same vein, use the same water you would normally use for your coffee. Don’t just use tap water.
- You can let the coffee infuse for up to 24 hours, but in my experience you don’t get much more “good stuff” after around 12 hours and definitely start entering diminishing returns territory.
- In general, expect around 80% of the starting liquid at the end. With 880g of water above, expect around 700g of coffee liquid.
- You don’t need the fine mesh strainer, but it’s really helpful, and typically lets you get a bit more coffee out at the end.
- Filtering more than once through the Aeropress doesn’t make much of a difference. Because of the pressure you need to use to force the coffee through the filter the first time (due to the amount of suspended fine particles), you’ll almost certainly force some of those particles through the filter. In my experience it’s not a lot and doesn’t affect the mouthfeel enough to warrant filtering a second time.
- Either drink the cold brew within a couple of days, or put the cold brew into a bottle/jar with little headroom. The longer the cold brew sits, the more it ages, and in contact with air, the more it oxidizes, so the flavor will change. I find that after a couple of days I don’t really like the flavor as much as earlier days. If you really need to keep the cold brew around for longer, put it in a bottle with as little air as possible to at least reduce oxidation.
That’s it! If you find this recipe helpful, or have any questions or comments, please reach out. ◾️